Tired of getting the 'No DEFAULT or UI configuration directive found!' error when booting from a USB stick? Using `isohybrid` on the iso file before writing it to the stick is the magic fix - it's like a rebooting fairy godmother, making everything work like a charm!
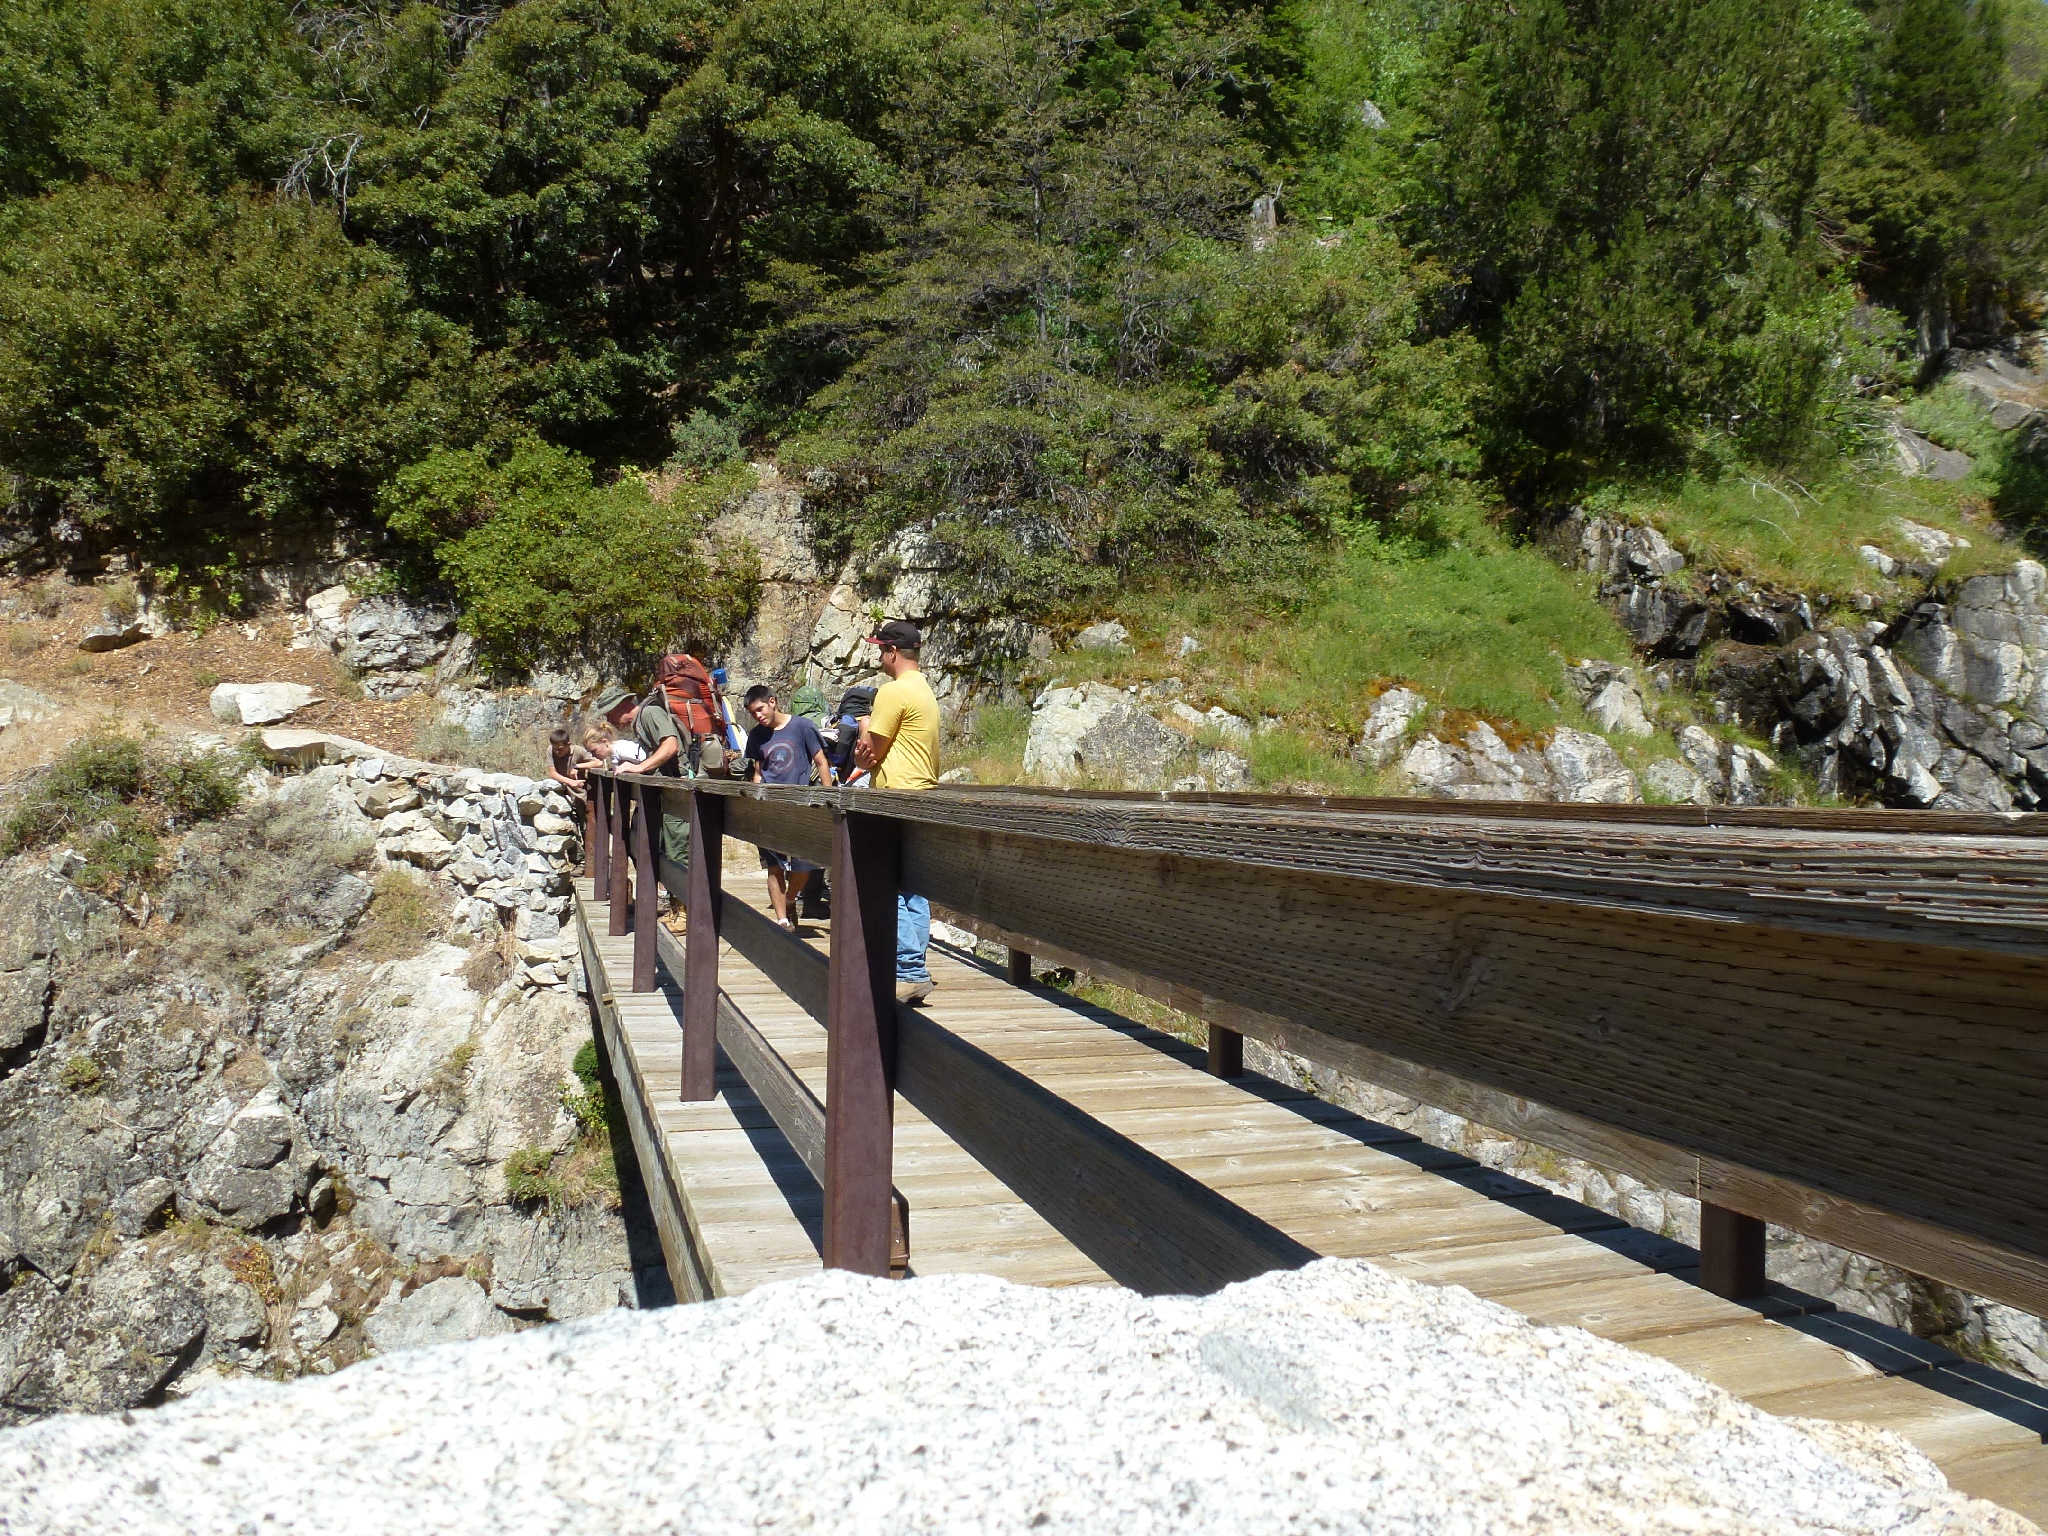
Get ready for a wild adventure in Sequoia National Park, where a family of eager hikers tackled 10.5 miles on their first day, braving rain and elevation gains, but were rewarded with stargazing and a near-full moon. The trail was a rollercoaster of ups and downs, with a final push to Bearpaw Meadows. The next day was planned to be a shorter, more relaxed hike to Hamilton Lakes.
Get ready for a chill day on the trail, with a relatively short 3.6 miles and a decent elevation gain - just enough to get you ready for the big haul over Kaweah Gap. You'll cruise into Hamilton Lakes, where you can kick back, fish, and soak up the scenery. It's a perfect day to recharge before the next big push!
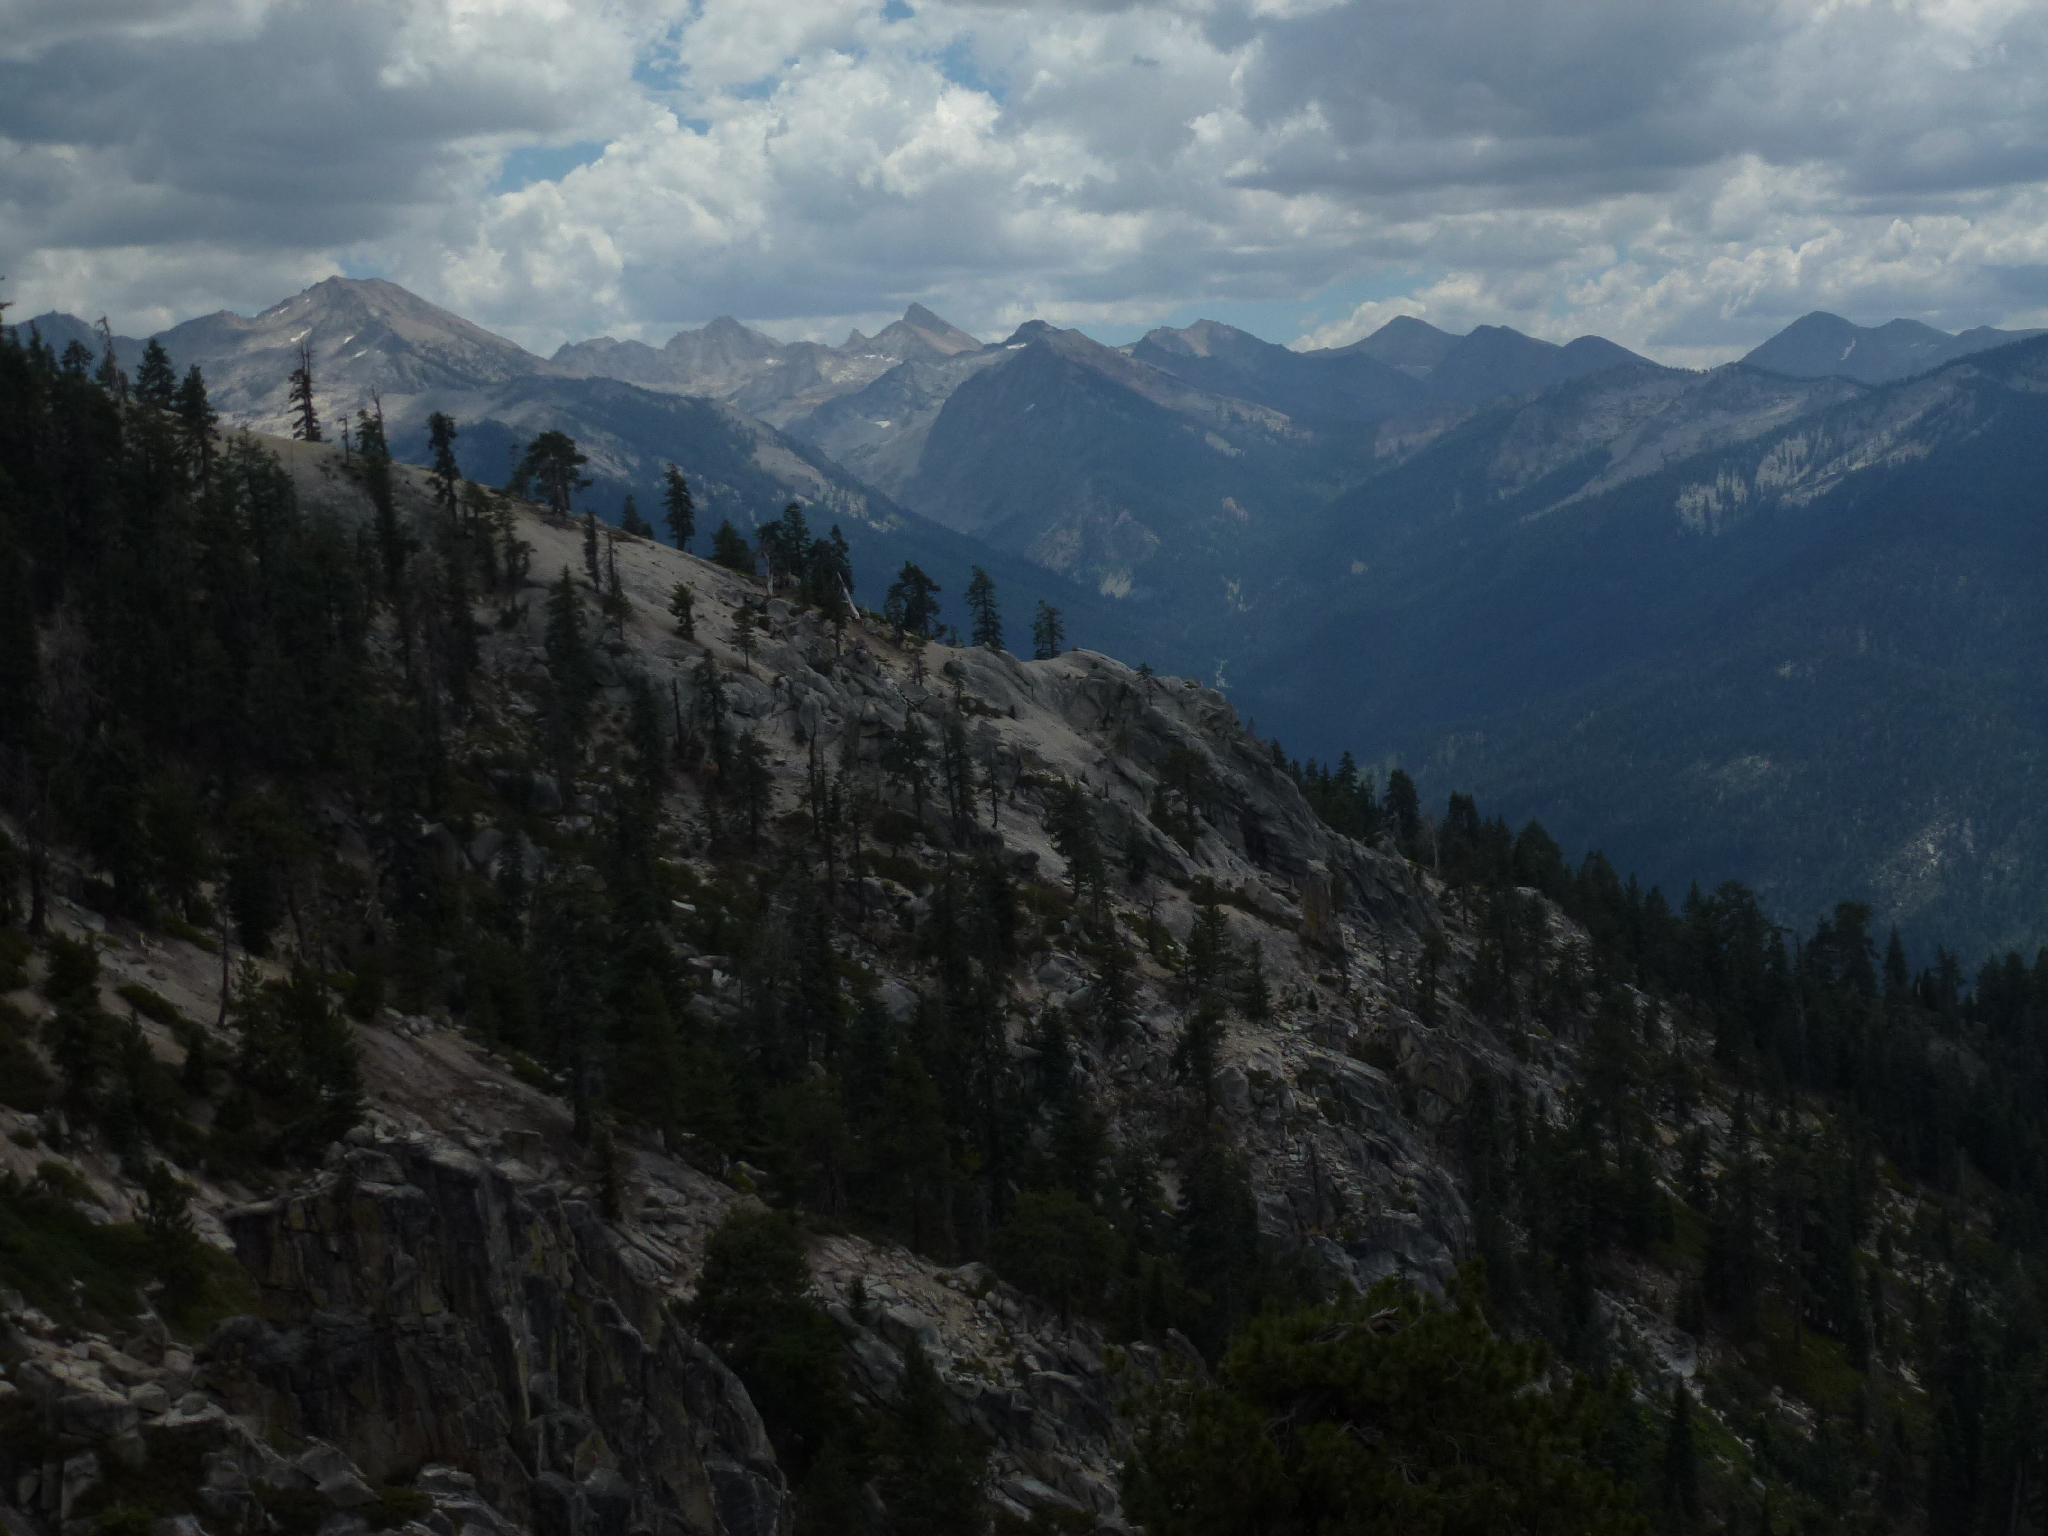
Get ready for a big day on the trail with 6.75 miles of hiking, 2,692 feet of elevation gain, and a thrilling descent into the Big Arroyo, where water and campfires await! You can even take a detour to Kern Hotsprings if you're feeling adventurous. The views from Kaweah Gap are totally worth it.
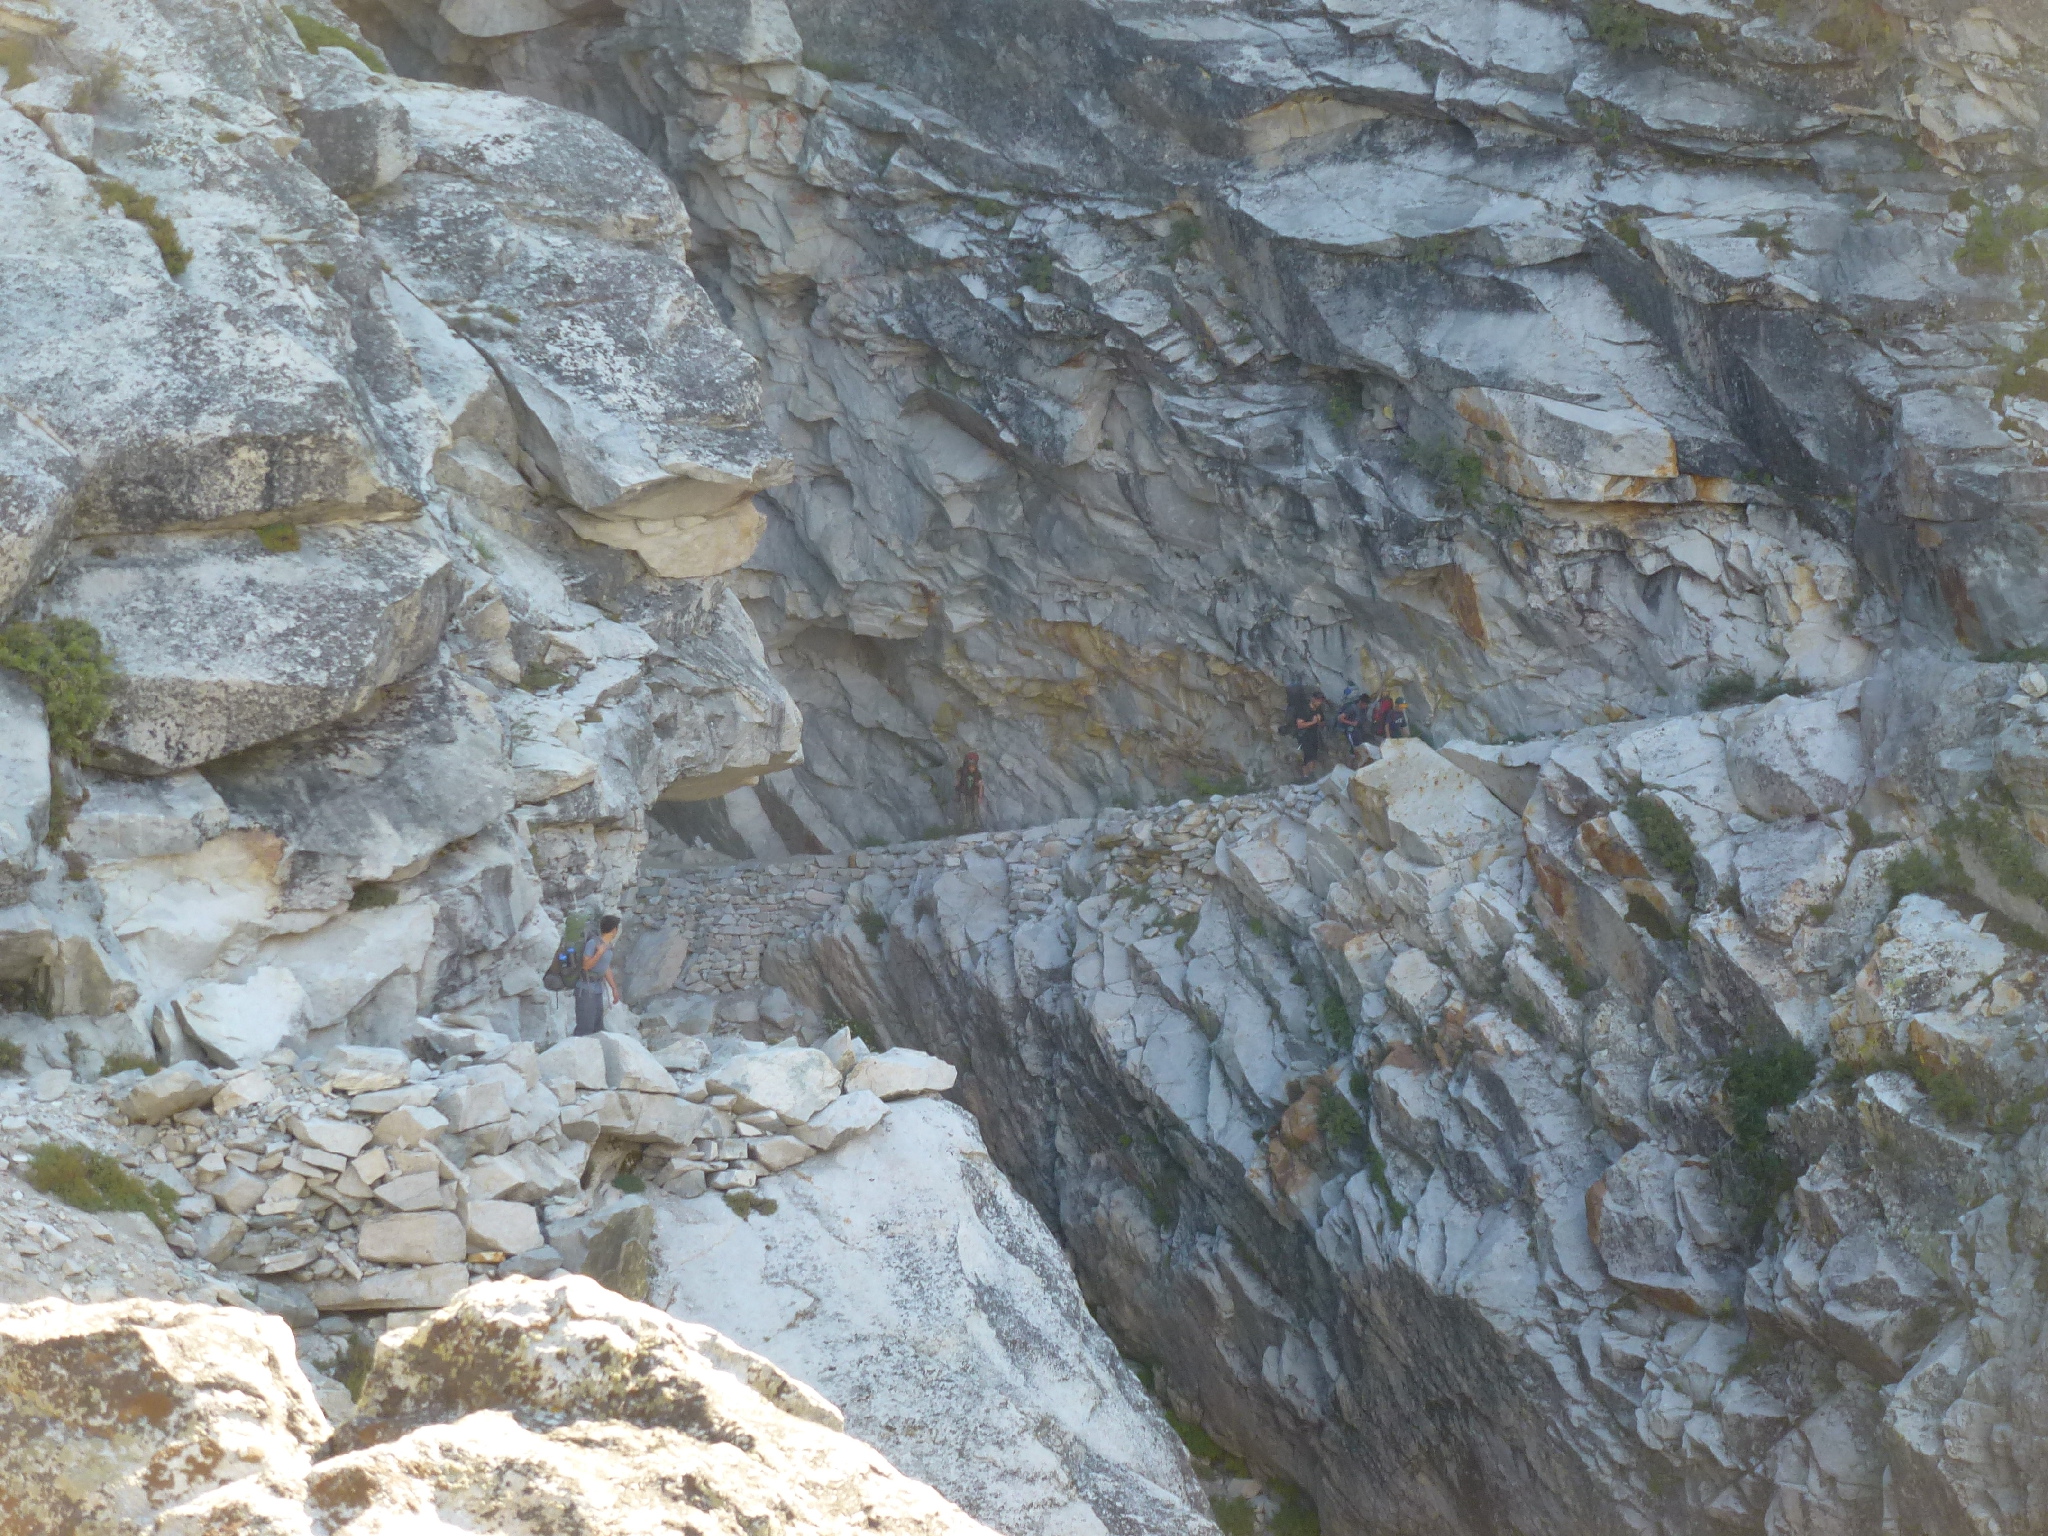
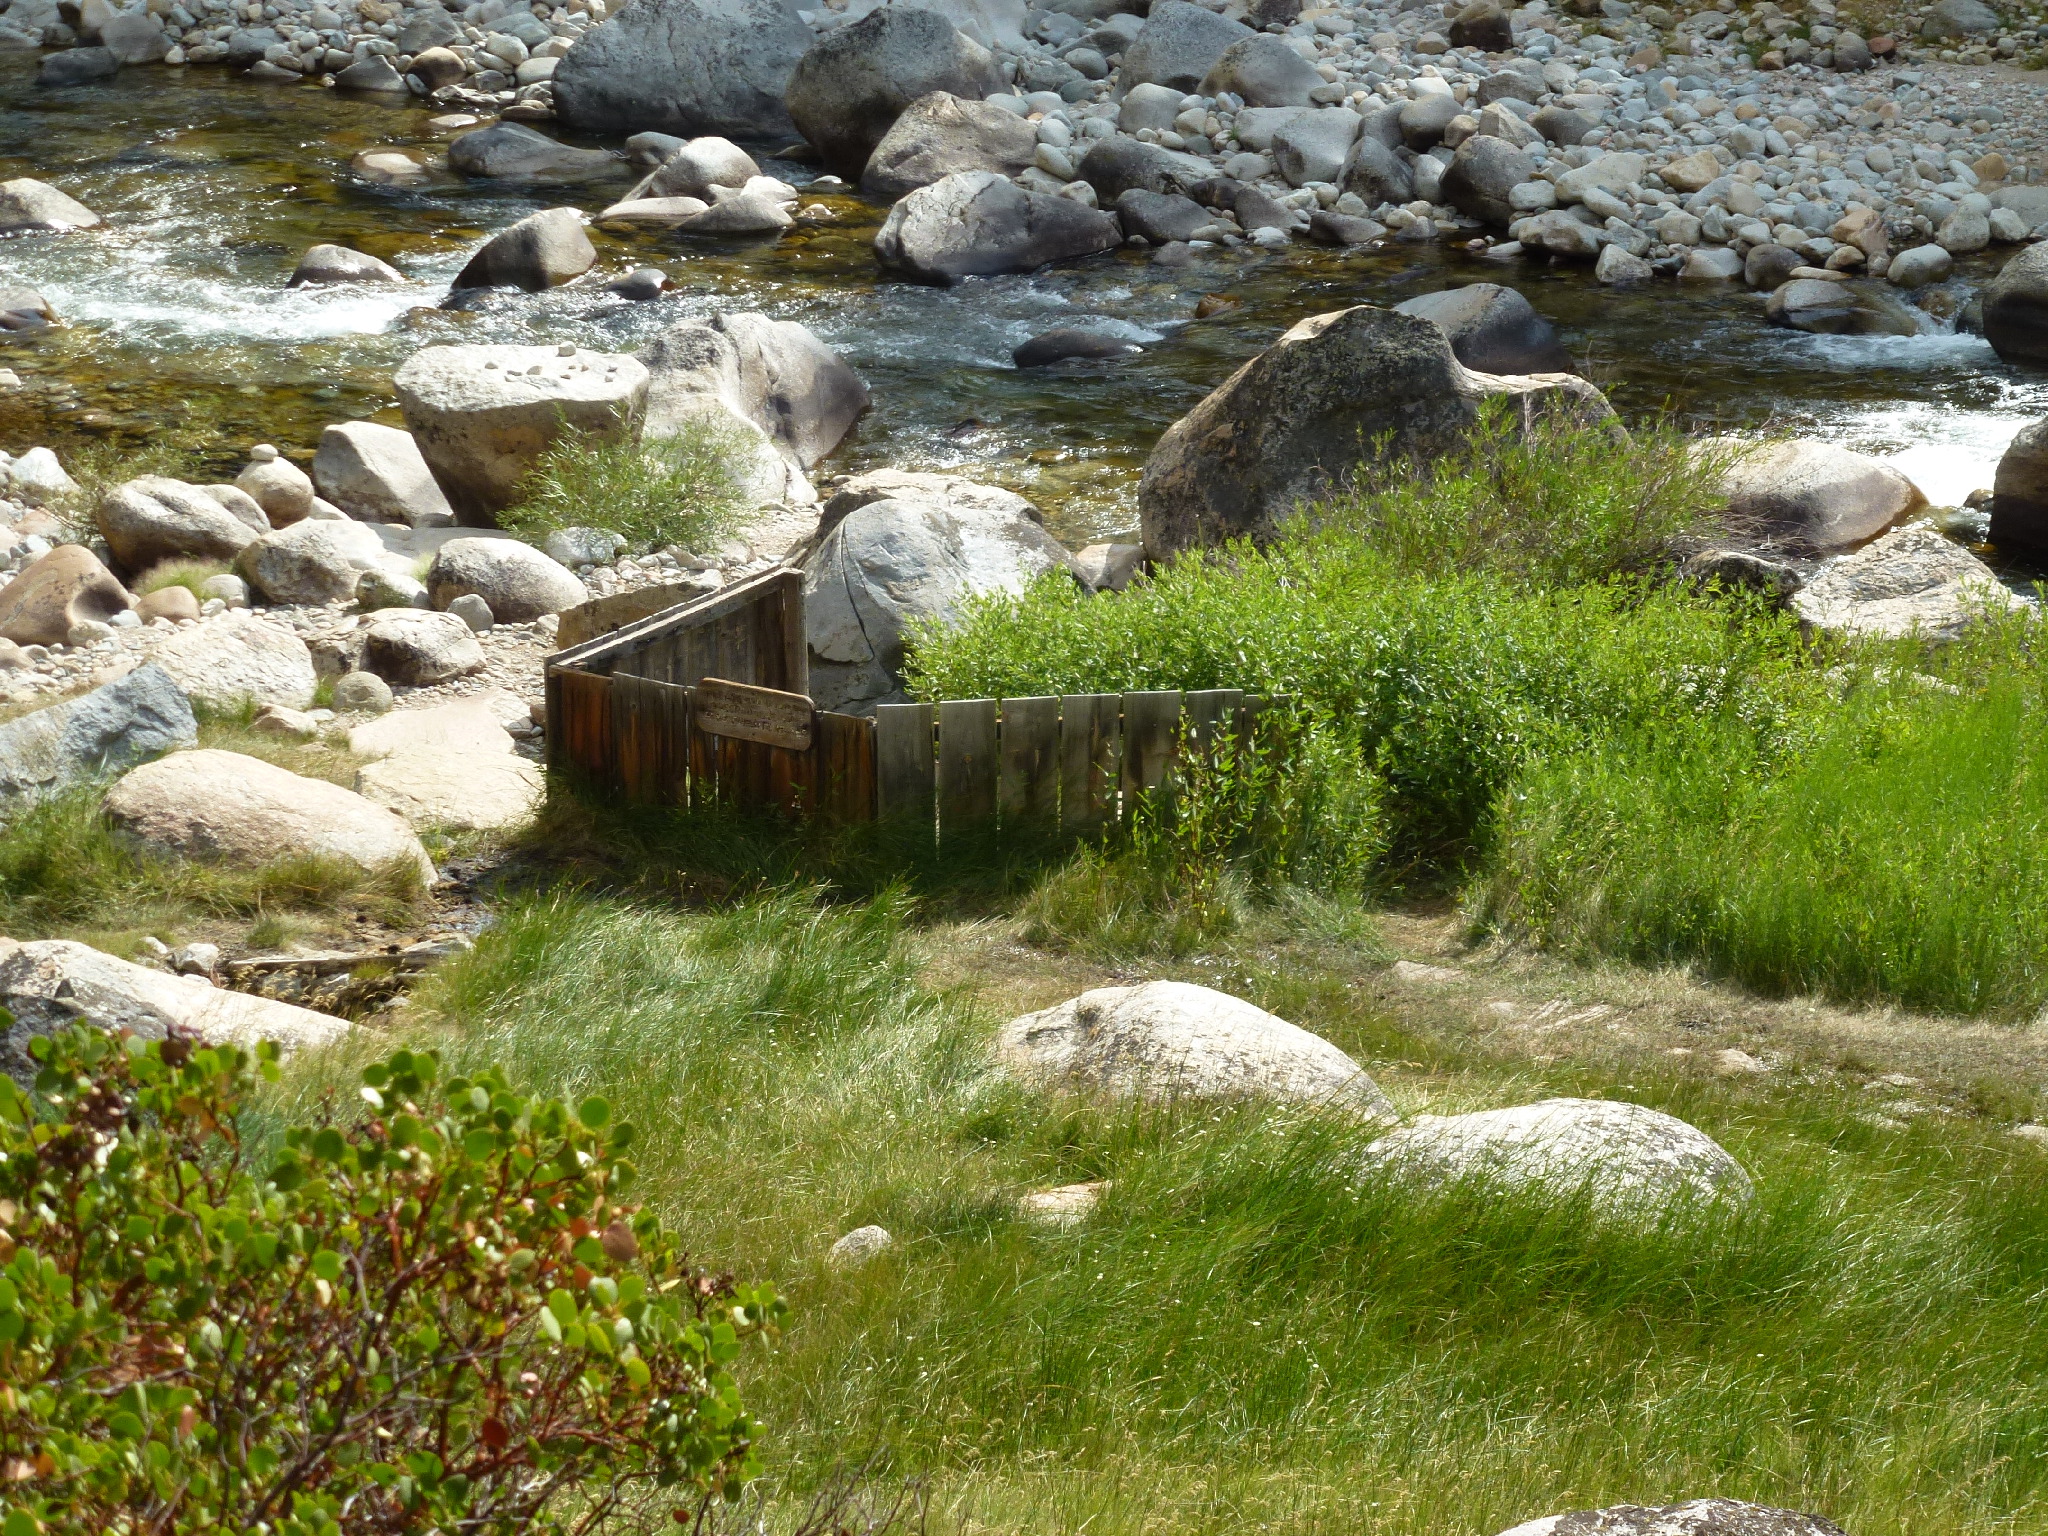
Get ready for a wild ride: 12.75 miles of hiking with a whopping 1,189' elevation gain, followed by a steep drop into the Kern River Valley, and finally, a relaxing soak in the scorching hot Kern Hotsprings. It's a challenging trek, but the reward is worth it - sore muscles will be a distant memory after a dip in the hot pools.