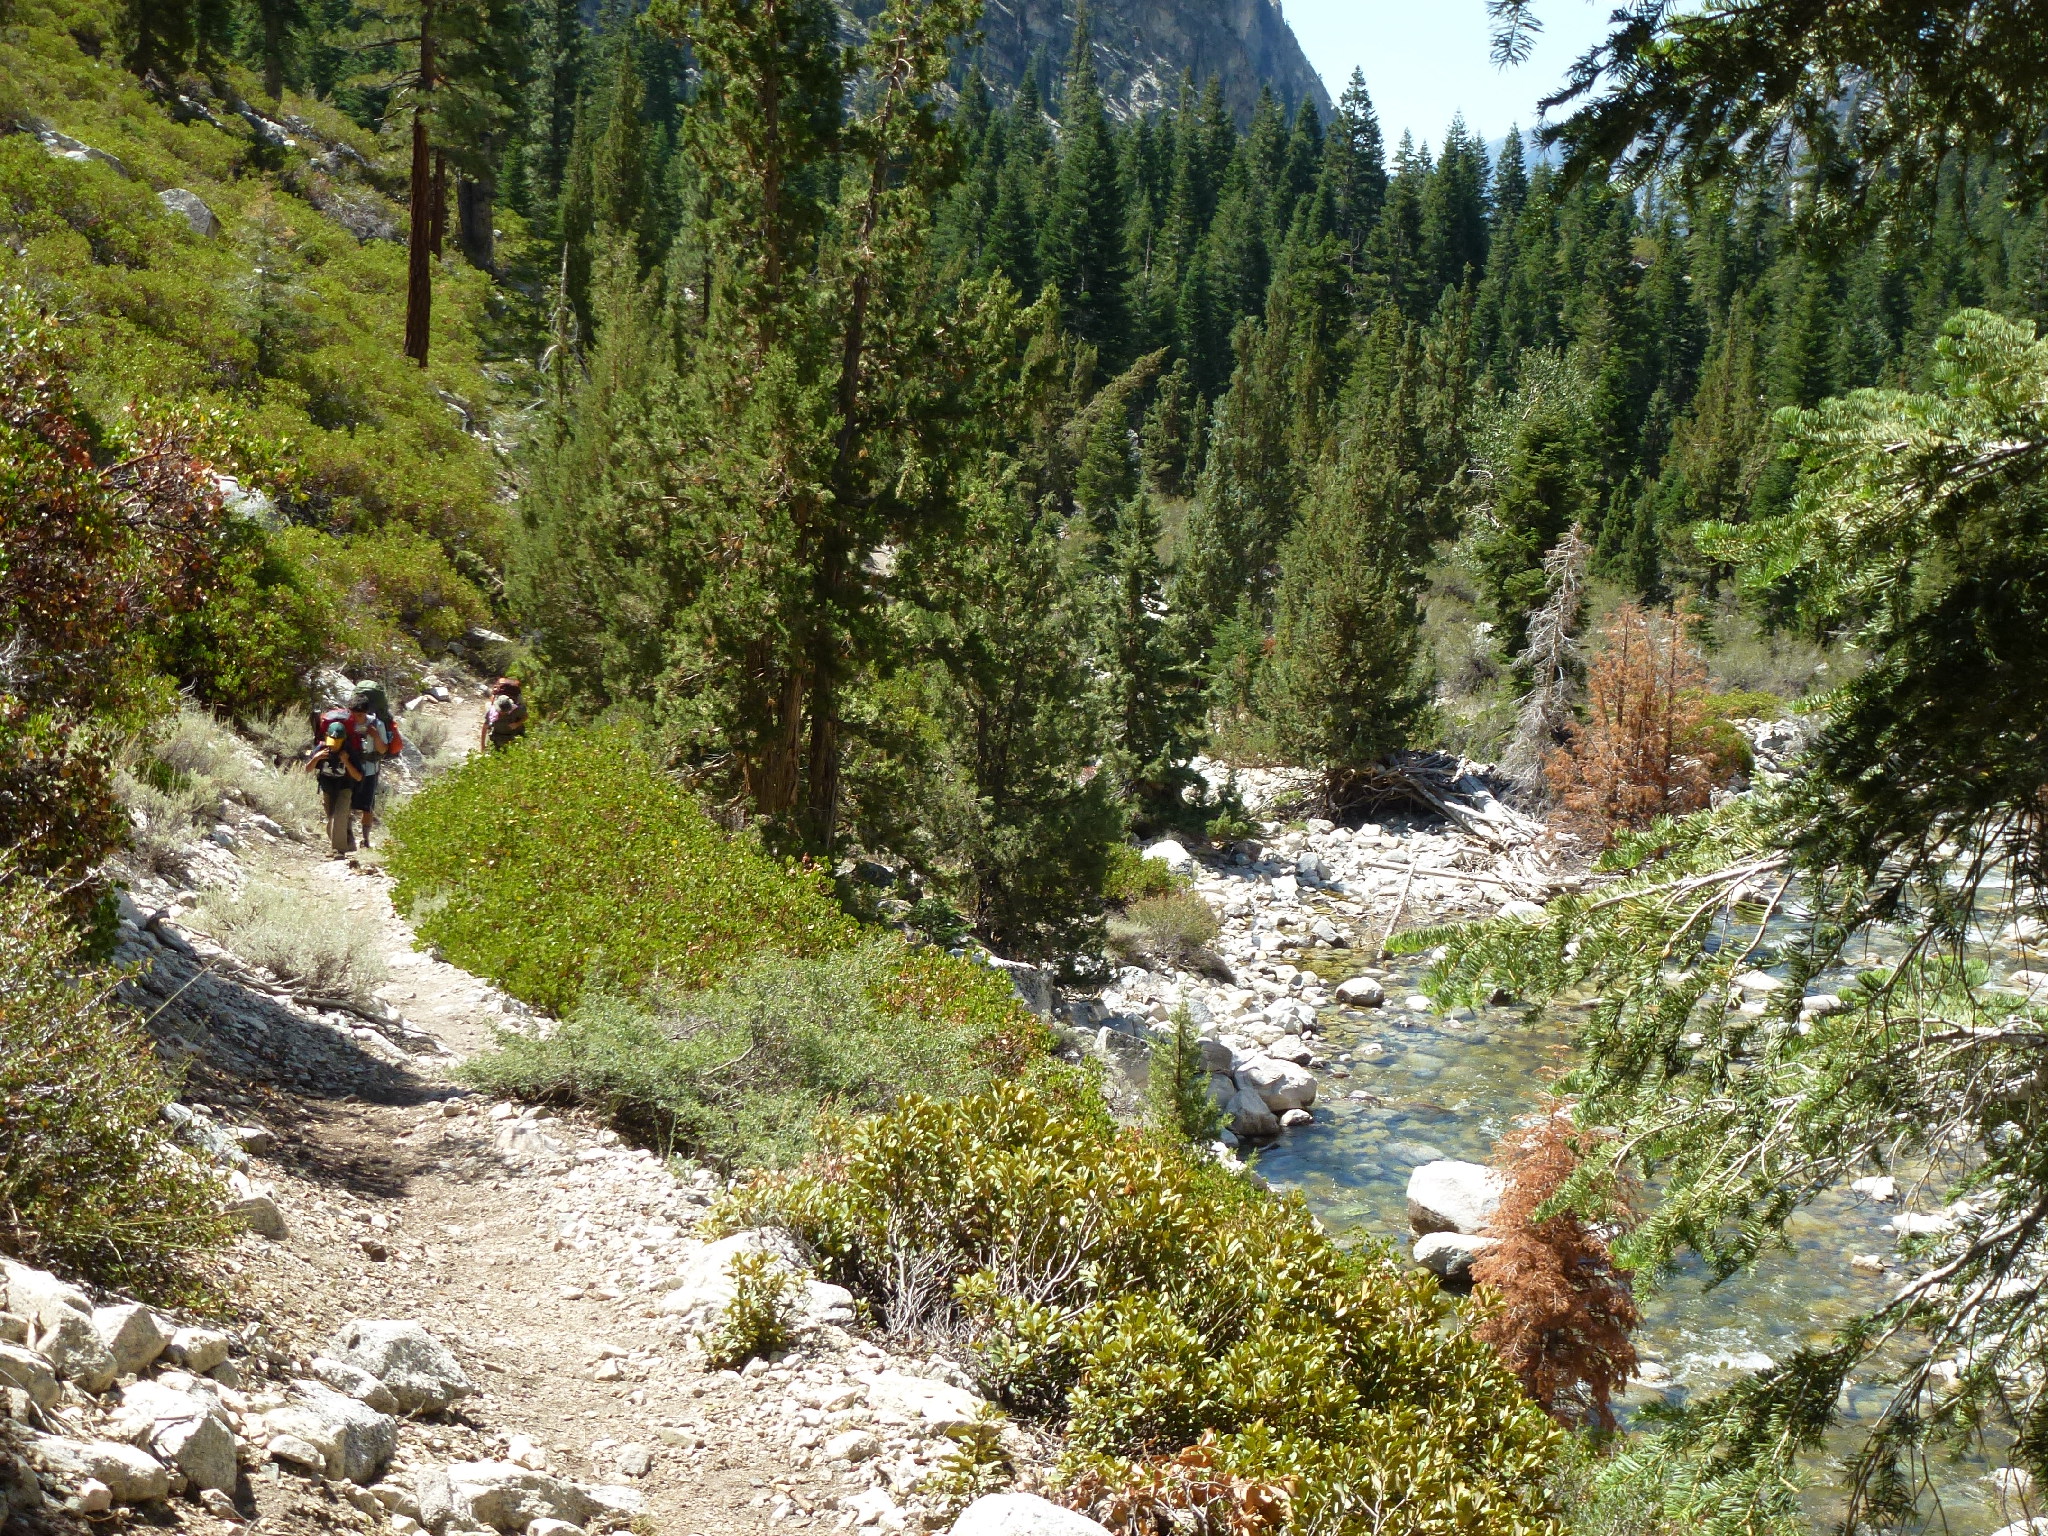
Get ready for a relaxing day hike along the Kern River to Junction Meadows, with a gentle 7.5-mile upslope and some decent fishing spots - just don't forget your umbrella for those potential afternoon monsoon showers! The scenery is pleasant, and the Kern River provides plenty of opportunities to cool off.
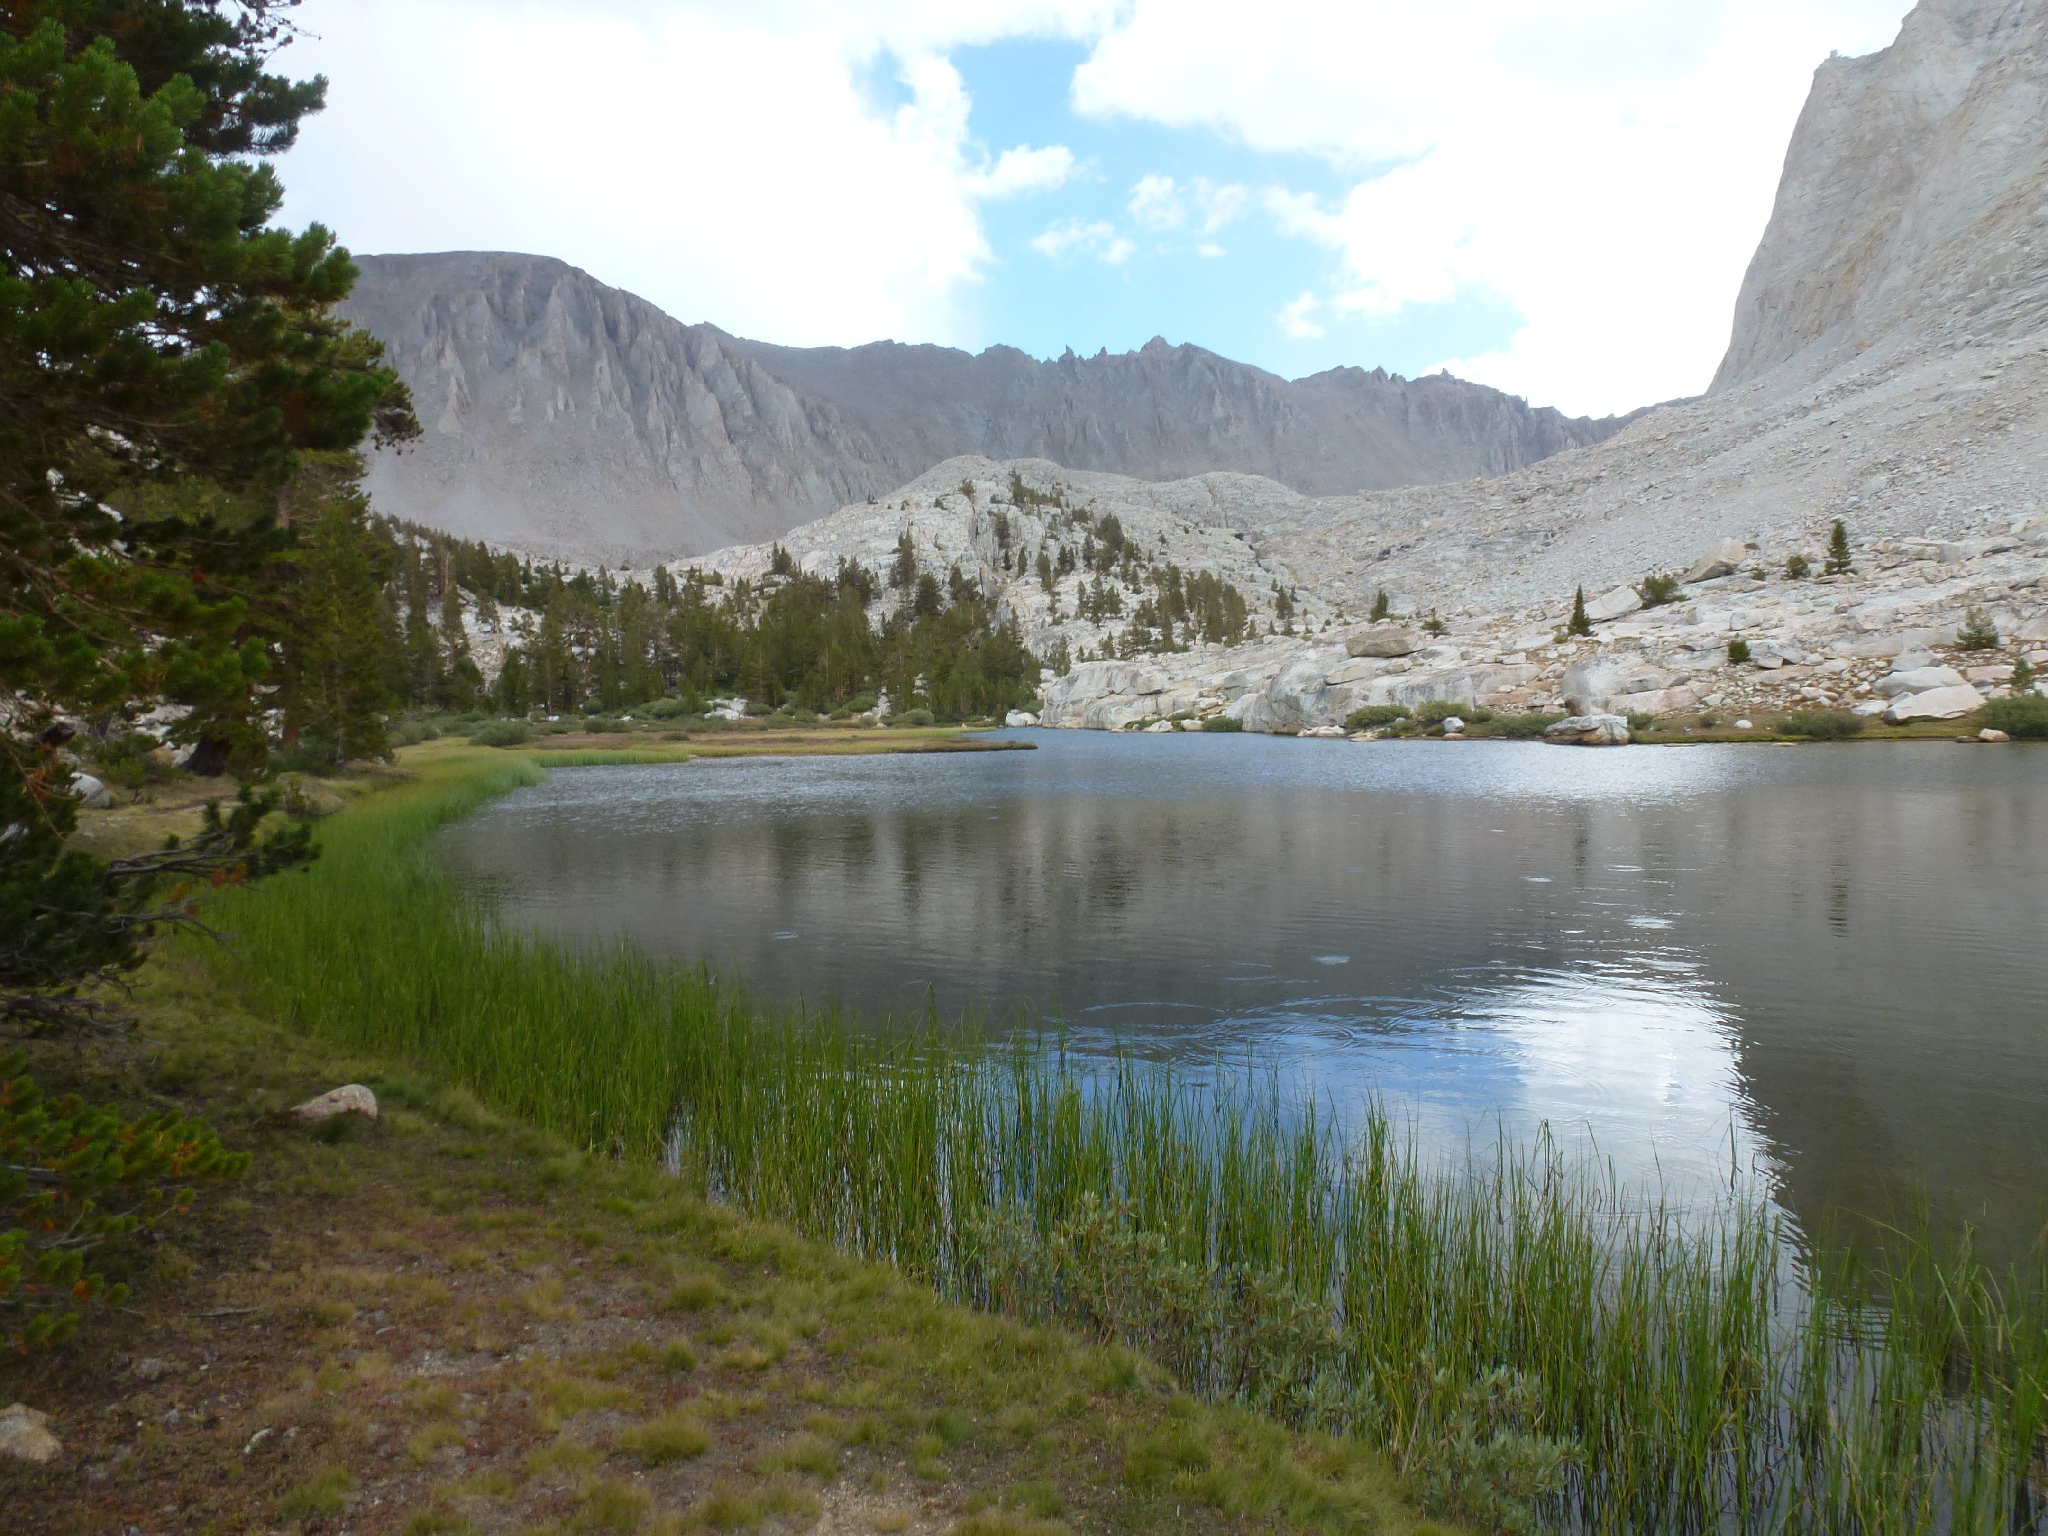
Get ready for a thigh-burning, 10.25-mile climb out of the Kern River Valley to the base of Mt. Whitney, where you'll need to fuel up and get an early start to beat the afternoon thunderstorms. Don't be like the authors, who left at 8am and got caught in a storm - yikes! Fill your water bottles and get moving!
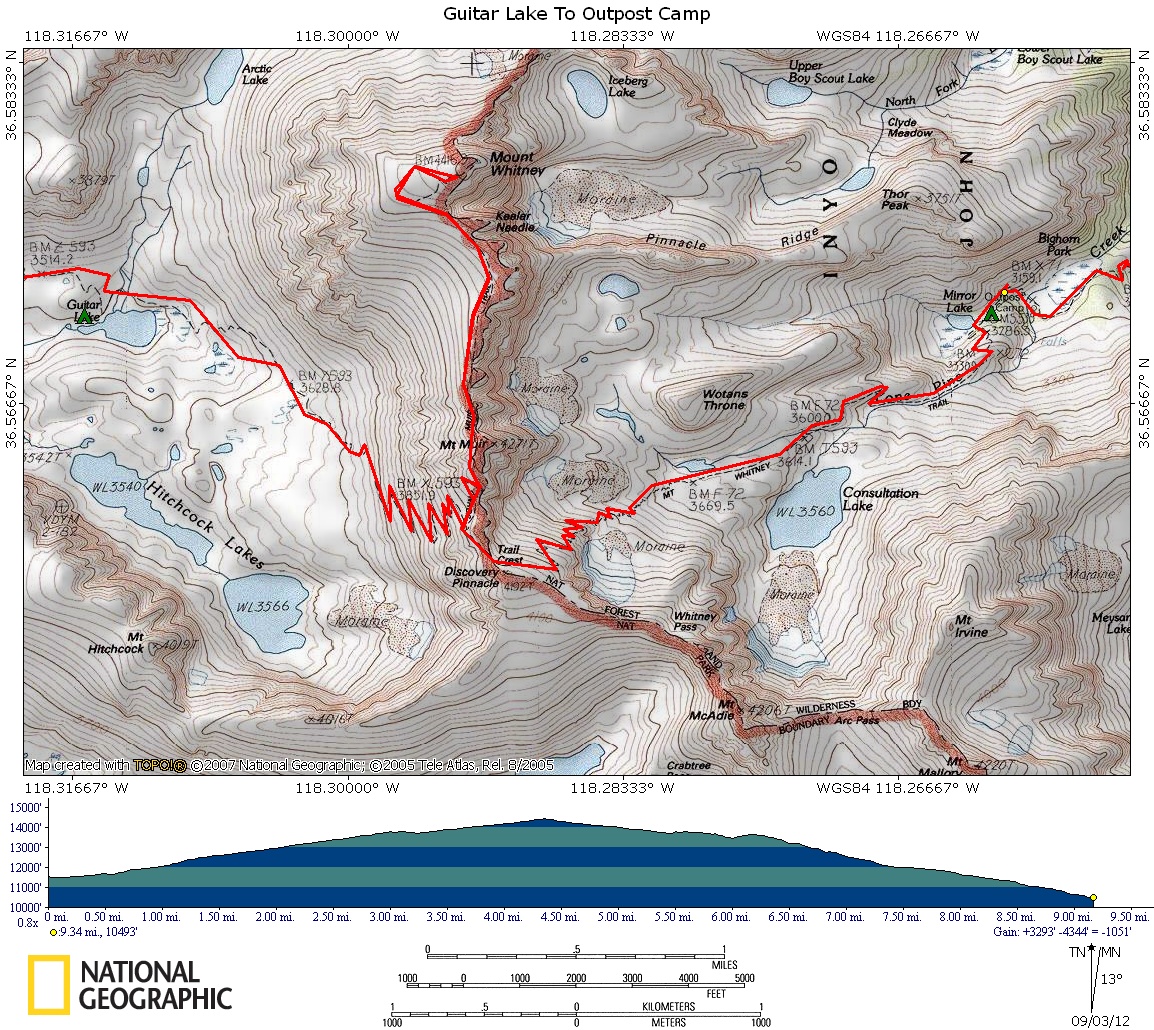
Get ready for a wild ride to Mt. Whitney's summit, but don't get too comfortable - afternoon thunderstorms might just rain on your parade! Start early, pack some WAG bags, and be prepared for a 14-mile trek with a whopping 3,293' elevation gain.
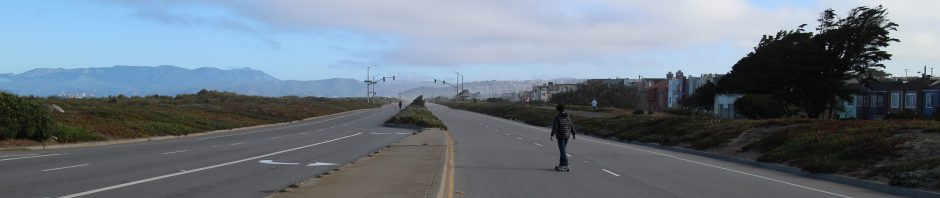
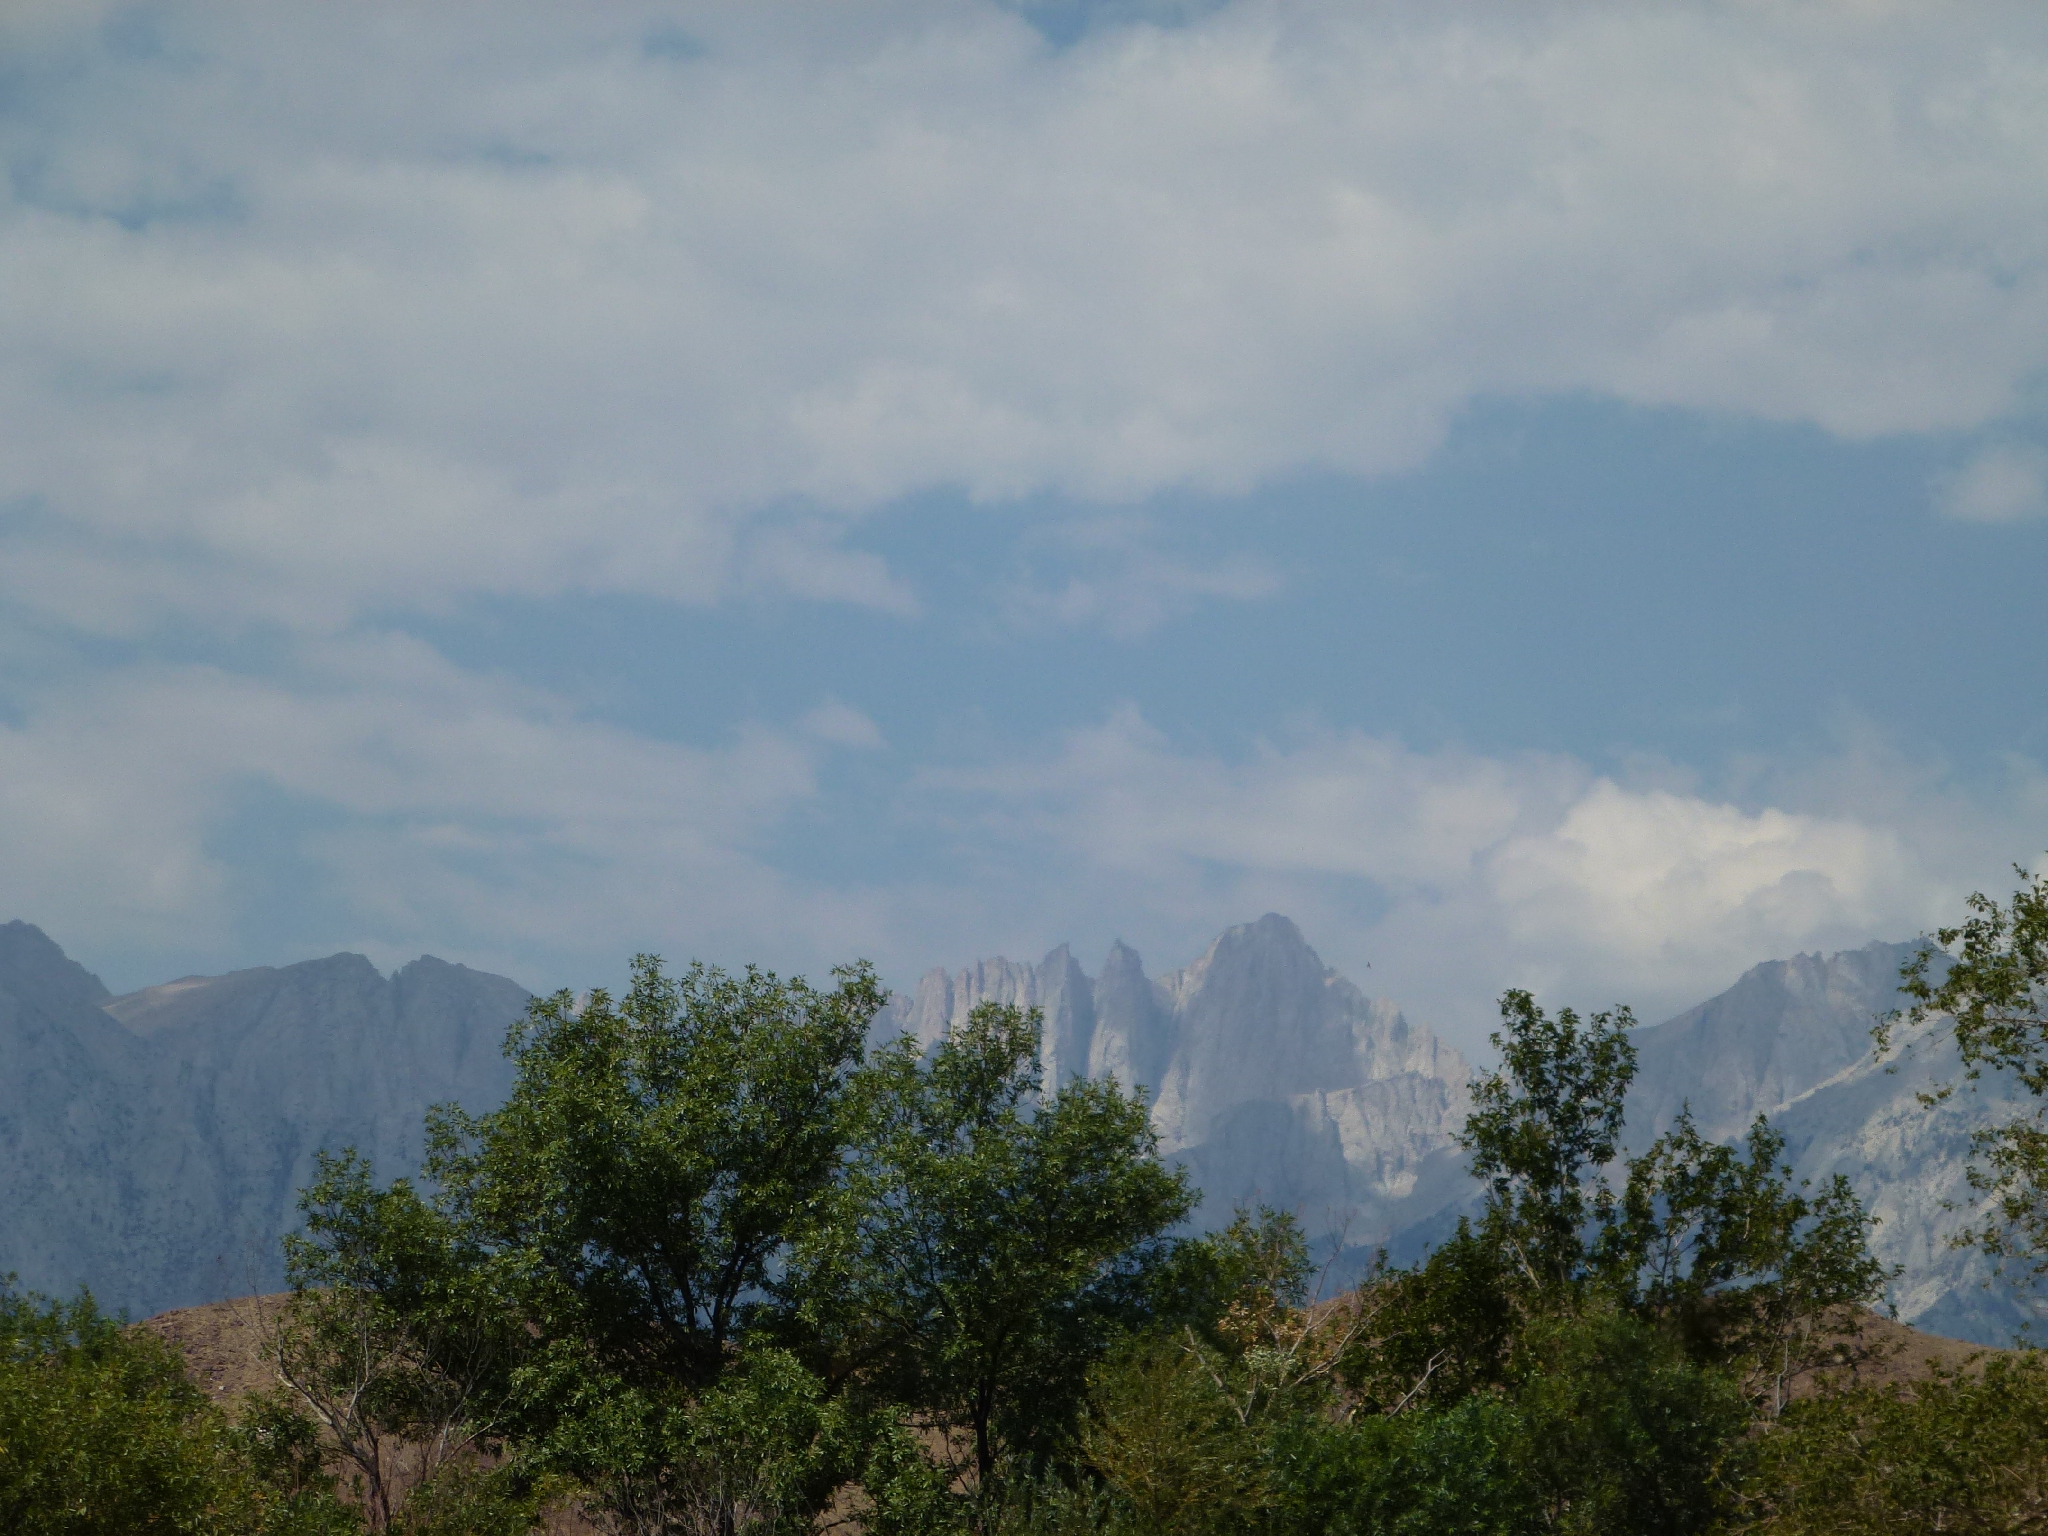
The final trek is a breeze - just 3.5 miles and you're done! You'll be treated to a stunning view of Mt Whitney from Lone Pine before heading home with your awaiting crew. Time to pack up and say goodbye to the mountains!
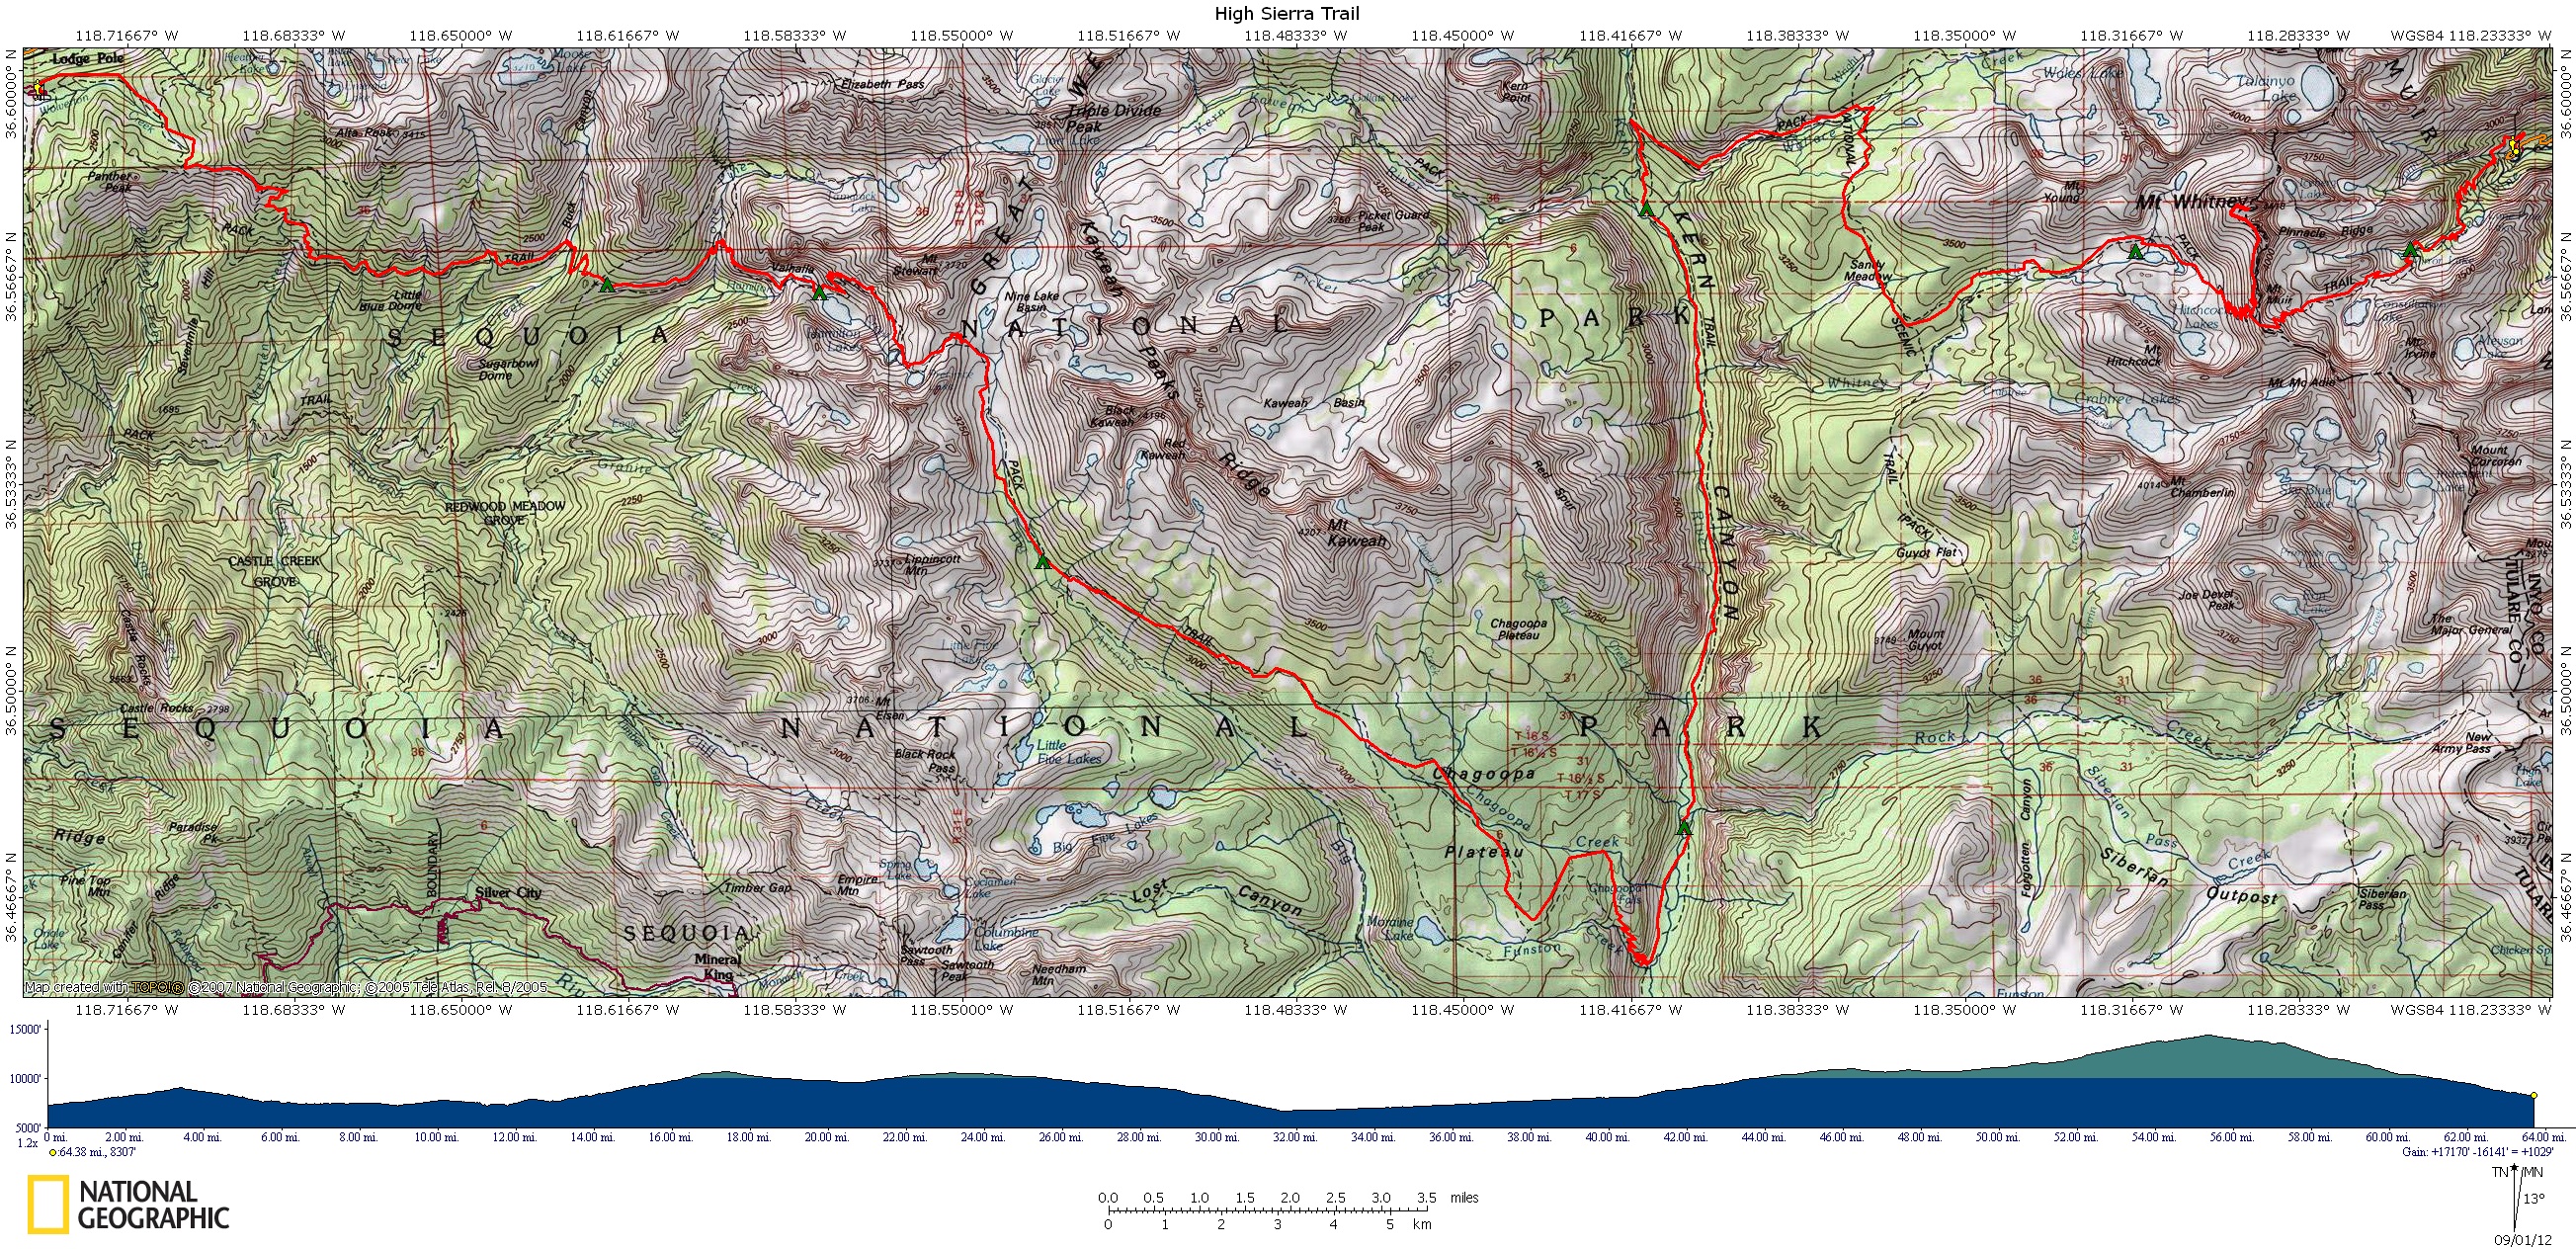
Join two families and a nephew on an epic 8-day, 66-mile adventure along the High Sierra Trail, where they hiked, backpacked, and even bagged Mt. Whitney! With stunning scenery and exciting challenges, this trip is sure to inspire your next outdoor escapade.